Unity3D Installation – Detailed
Starting up Unity Hub
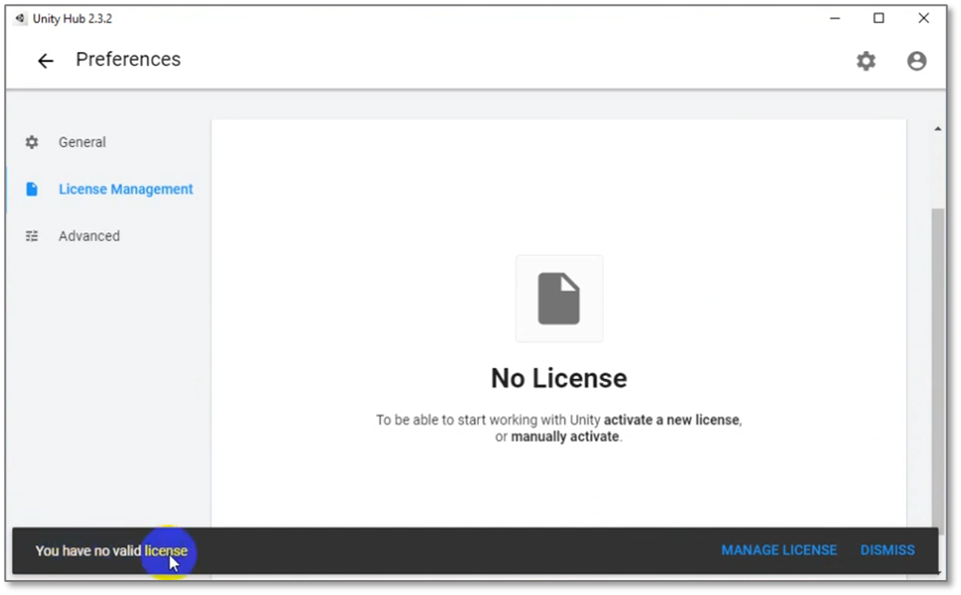
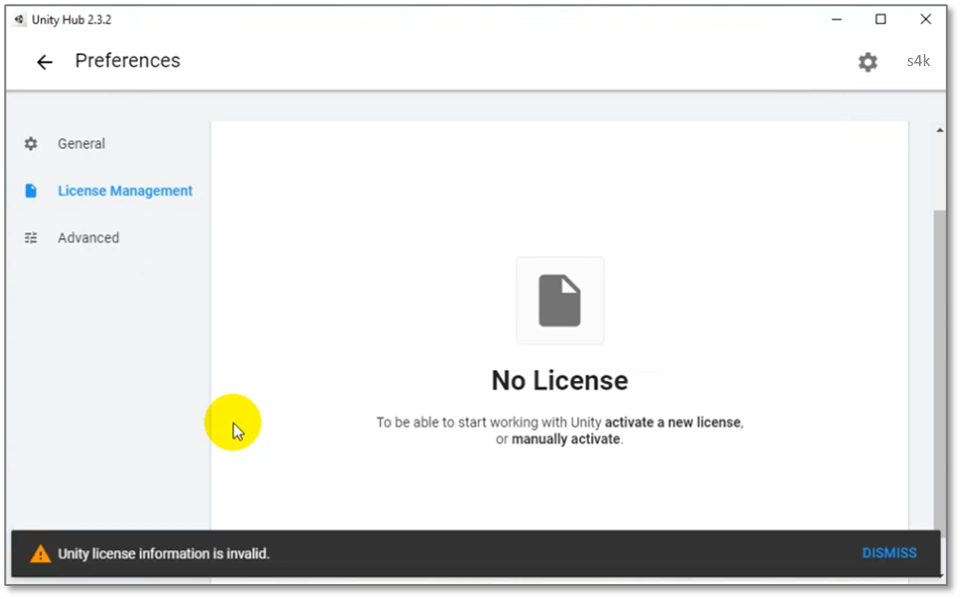
After starting the Unity Hub software, you may see one or two notices that say:
- “You have no valid license”
- “You need to be logged in to manage your license”
Click the “Gear” icon (top right of screen), if you are not already in the “Preferences” section after starting up Unity Hub.
Creating a Unity Account
The following steps will take you through obtaining a (free) Unity “Personal” license and creating a (free) Unity account.
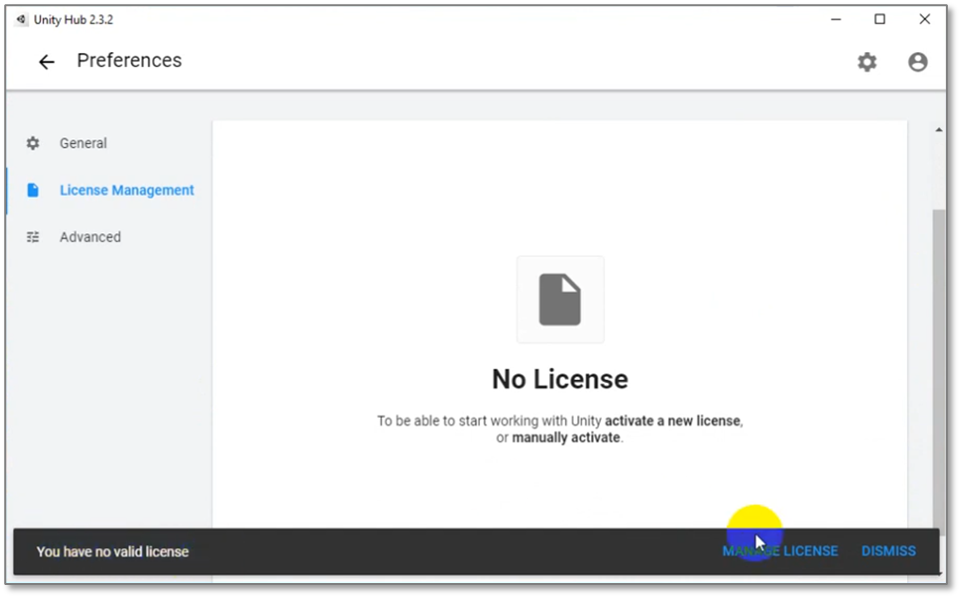
This step is informational only, no action required on your part – in order to use Unity, you need a Unity license (we will be installing a free “Personal” license).
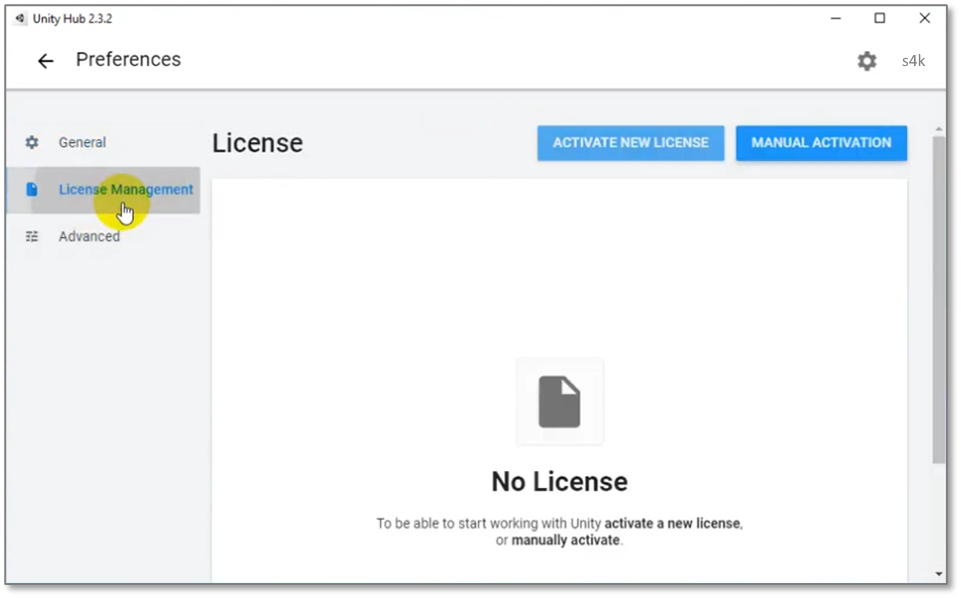
To obtain a license, please click on “Manage License”
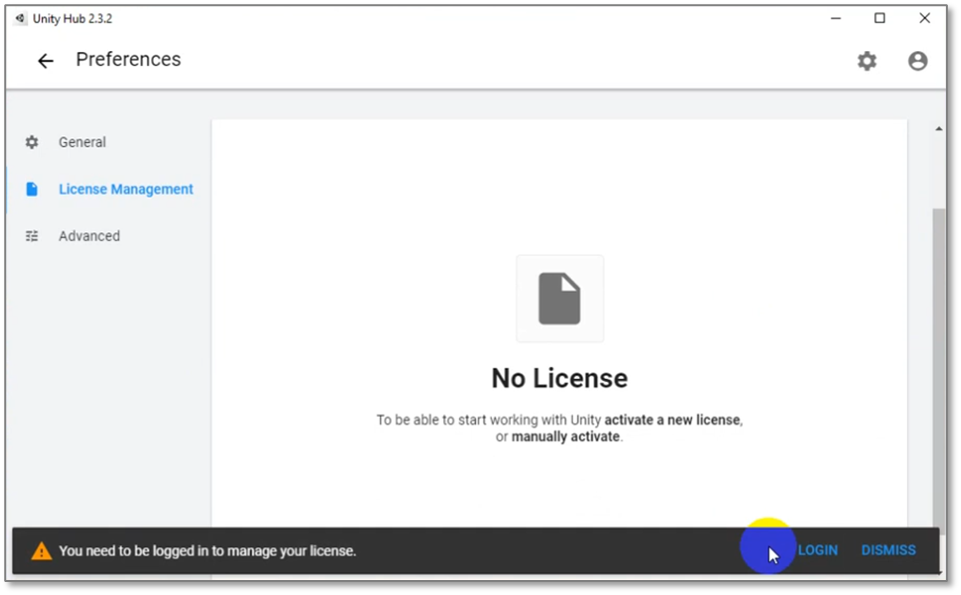
To obtain a license though, you need to be logged into your Unity account, within Unity Hub. Please click on “Login”.
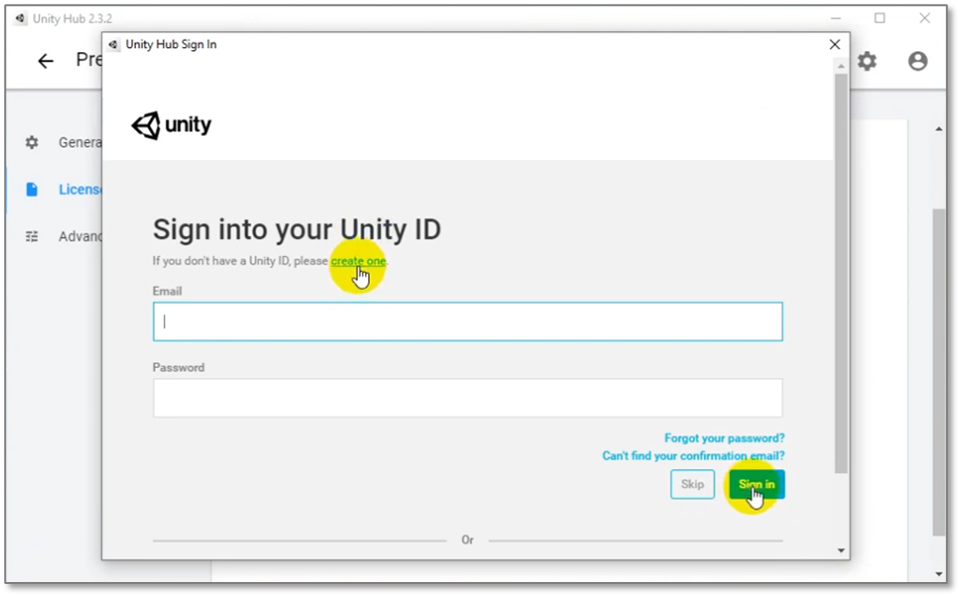
If you don’t already have a Unity account, then we need to create an account (also free), in order that we can login, and then obtain a Unity “Personal” license. Please click on “create one”, and provide the Unity account details requested.
After doing so, you may be asked to login – please log in using the email and password that you just used to create the new account.
Notes:
- If your child has been on a Spark4Kids Unity course before, then they will already have a Unity account (this account is likely to have been created using your child’s personal email address, and not a Spark4Kids’ issued email)
- After creating a Unity account, please save this information in a safe place, as it will be required prior to starting the course. Not having your Unity account details may delay your child starting the workshop, and could impact how much work is completed during the workshop.
This step is informational only – after logging in, Unity will detect that you don’t have a valid Unity license so we’ll add a license to your newly created Unity account.
First, click on “License Management”, and then click on “Activate New Licence”.
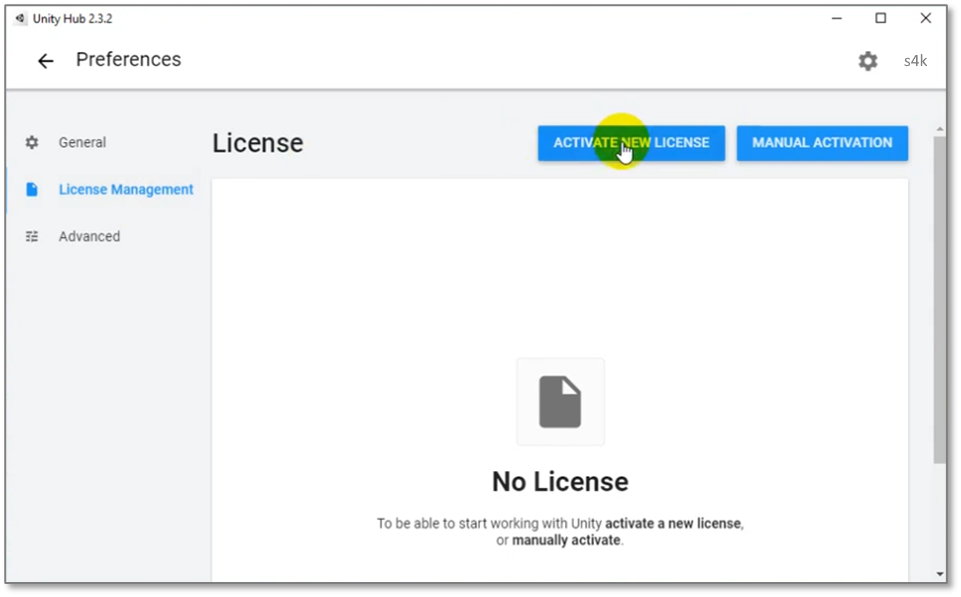
Now, on the “License Agreement” page, choose “Unity Personal” then click on “I don’t use Unity in a professional capacity”. and finally click “Done” to save your license selection.
Note: The “Unity Plus” and also “Unity Pro” options are for professional Unity developers and organisations with games that have earned gross revenue of $100,000 or more, in the previous fiscal year.

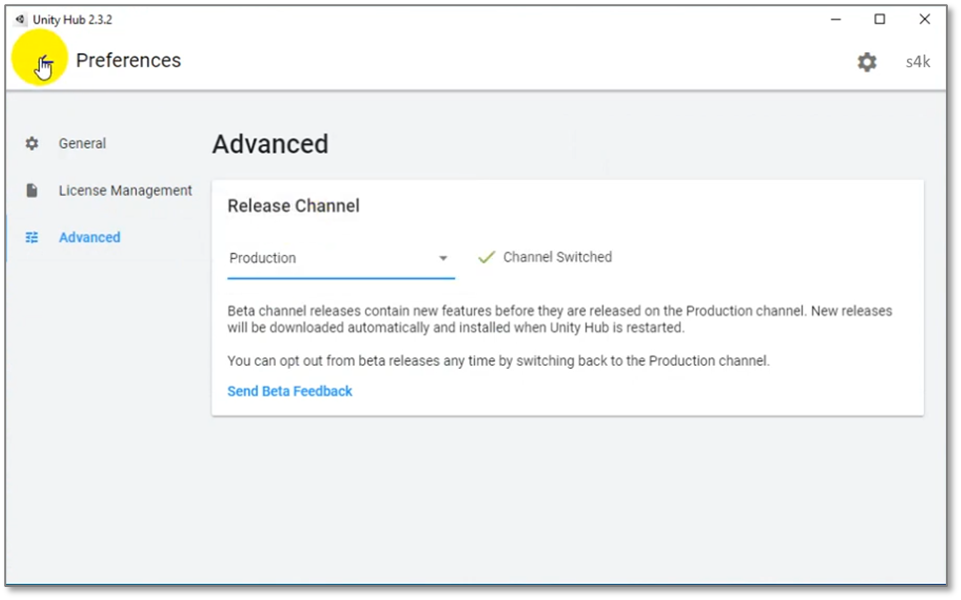
Now, click the “Preferences” back arrow to return to the main page.
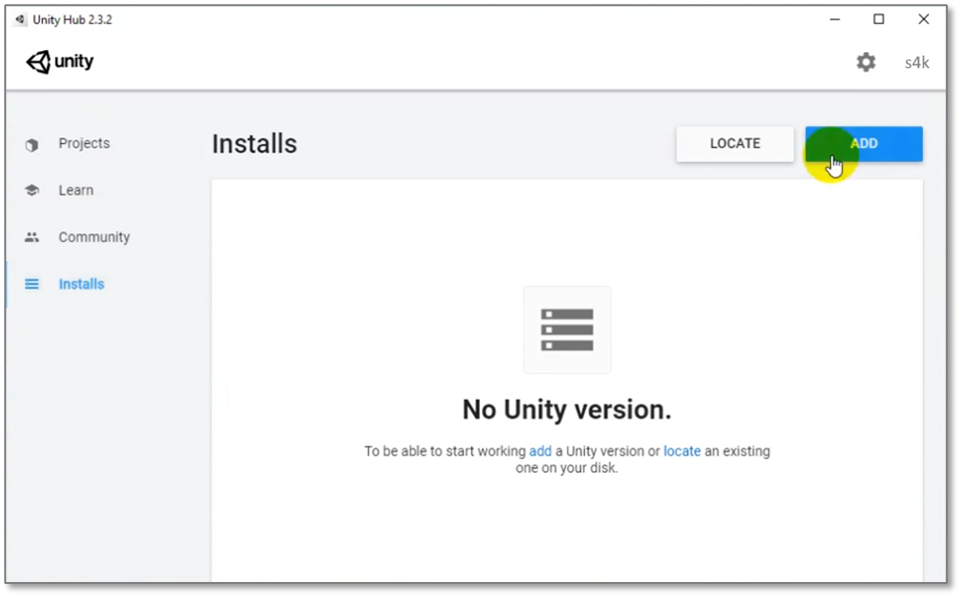
Now, to install the Unity Editor: Click on the “Installs” tab, and then click the “Add” button.

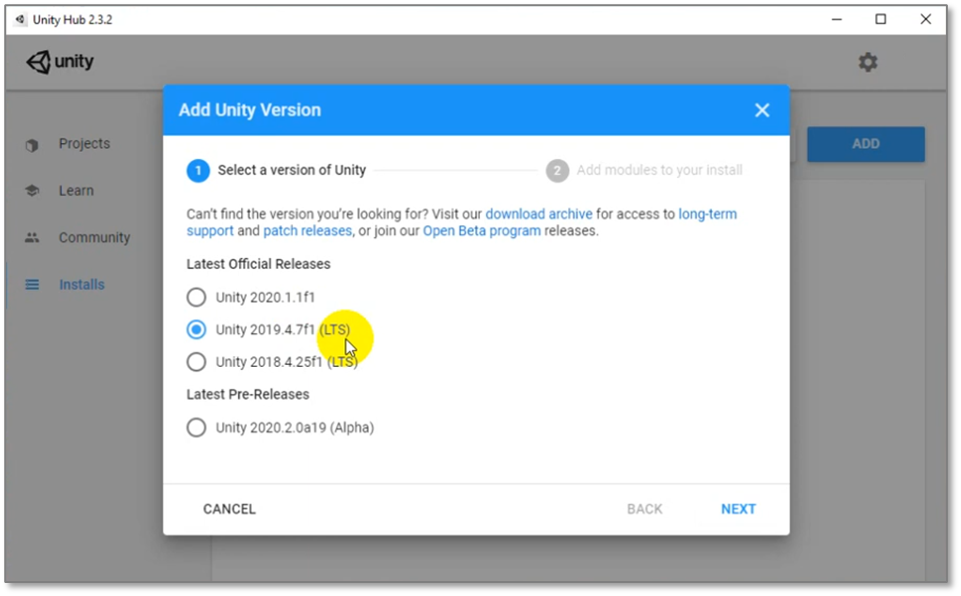
Next, please choose the most recent LTS (long-term support) version from the list shown. Note that the list that comes up for you, may be different to what is shown here – after selecting the most recent LTS release, please click “Next”.
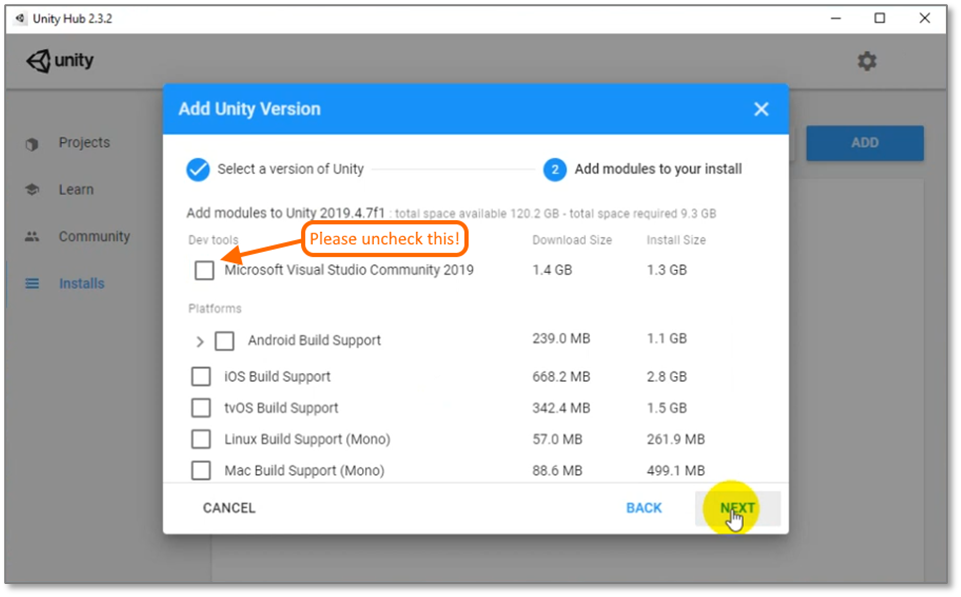
On the next screen, you may find that “Microsoft Visual Studio Community” edition has already been checked – please unselect this option, and then click “Next”.
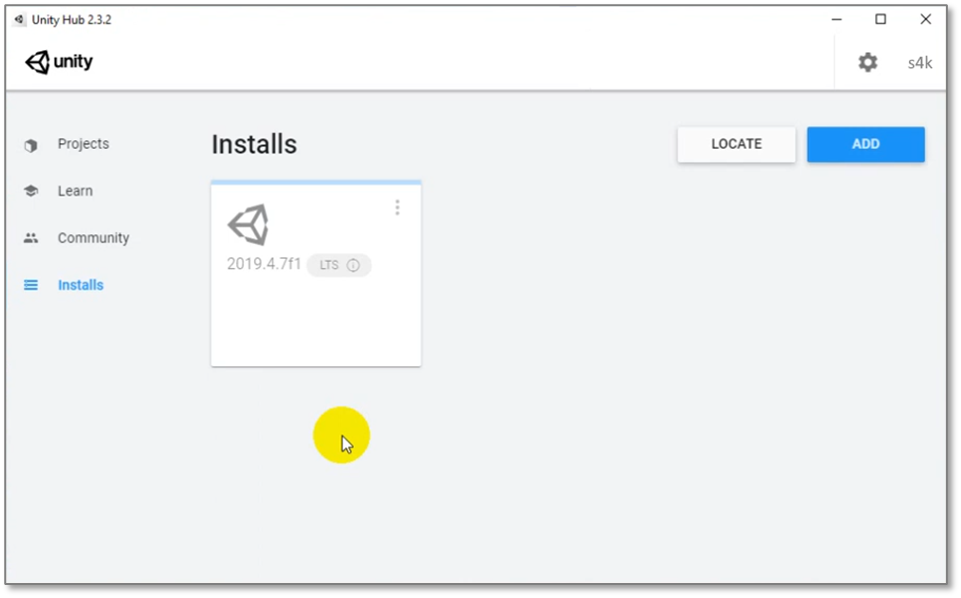
This step is informational only, no action required on your part – at this point, the Unity editor should begin it’s installation. Note that the LTS version shown in the image below, may be different to the version that will be installed on your home computer.
Notes:
- This part of the installation may take up to 1 hour to complete
- After installation, there are additional steps to follow (see following sections).
Installing Visual Studio Code – An External Script Editor
IMPORTANT: Kindly wait until the Unity Editor installation completes, before starting this and the following steps.
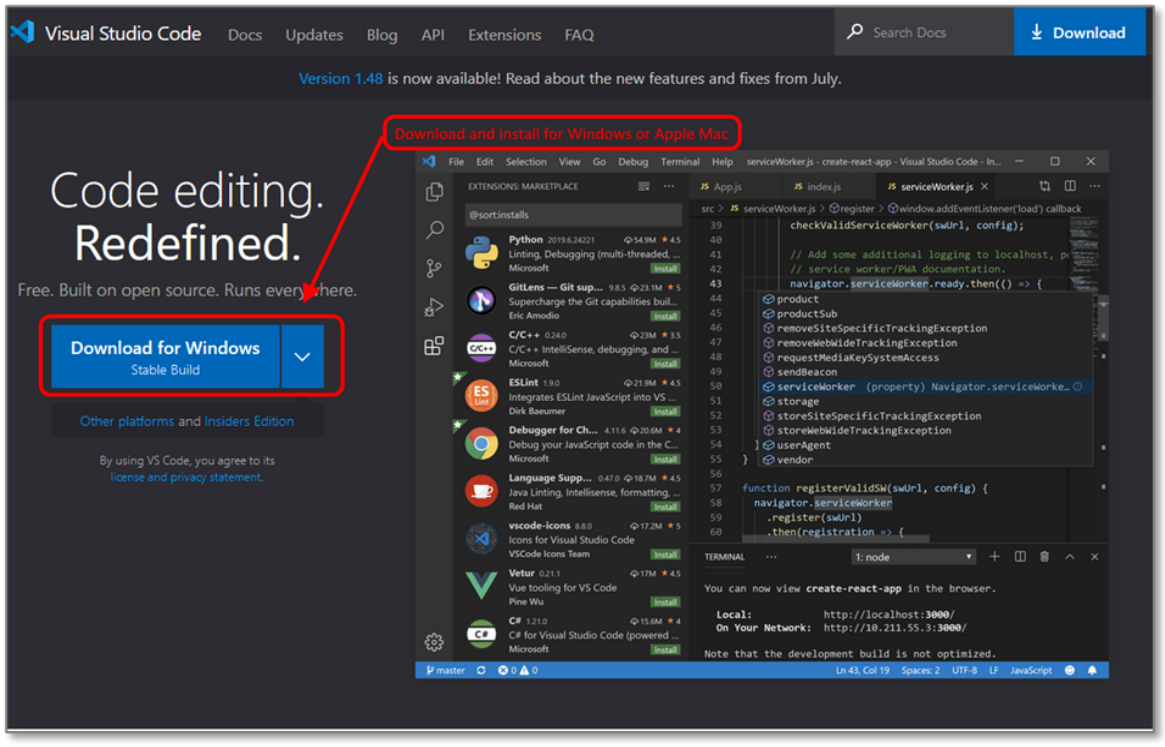
In order to edit code within Unity, we also require the installation of an external code editor called Visual Studio Code. To do this, please visit the following website, and choose the appropriate version for your home computer (Windows or Apple Mac), and begin the download and installation: Download and Install Visual Studio Code
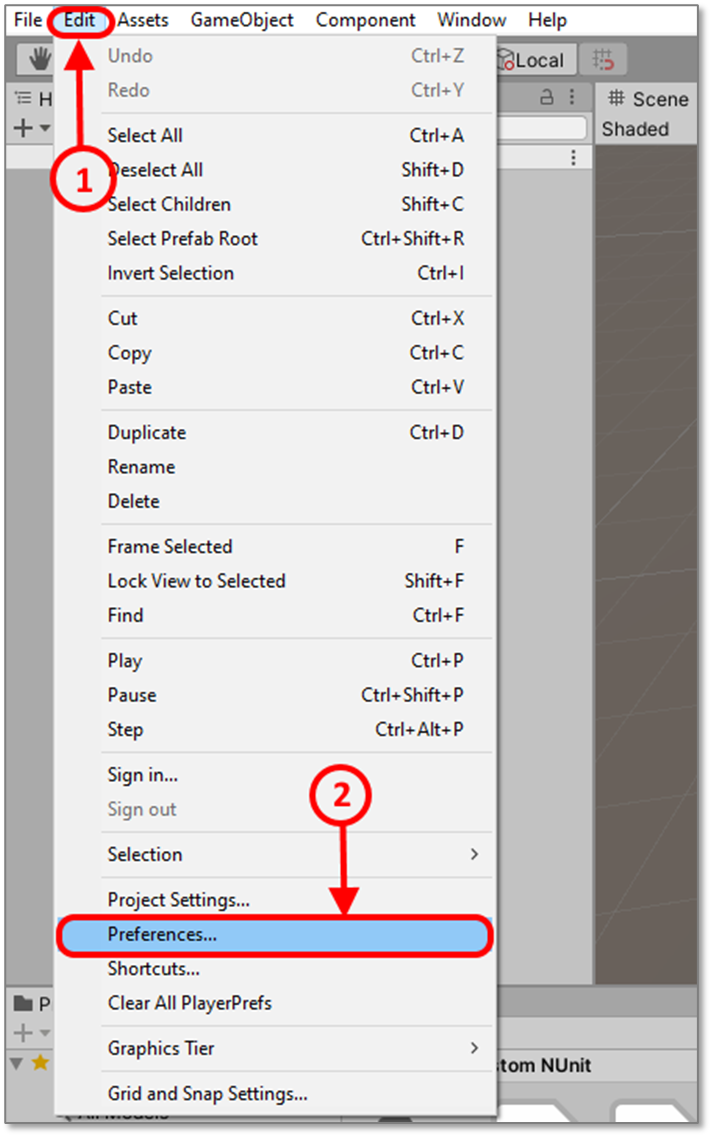
After both Unity Editor as well as Visual Studio Code have completed their respective installation, please run the Unity Editor. Click on the Windows Start Button, search for the Unity Editor, and run Unity.
Once Unity comes up, please click on the “Edit” menu option, and choose “Preferences”.
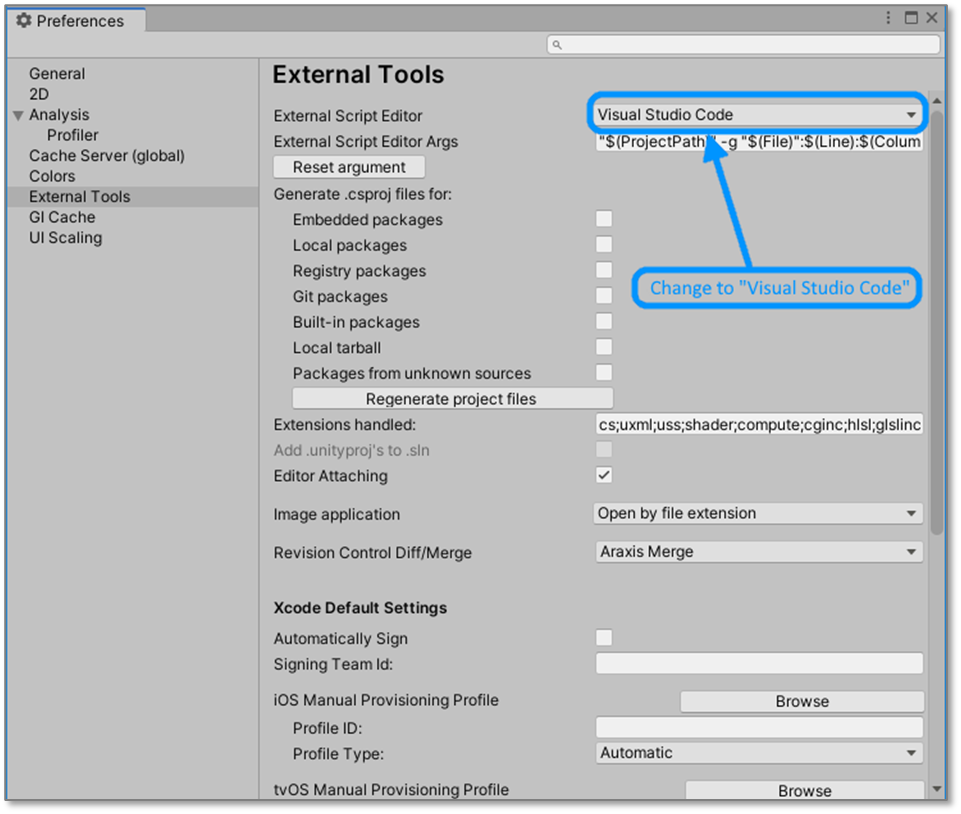
From the “Preferences” window, change the “External Script Editor” to “Visual Studio Code”.
If for some reason, you have installed Visual Studio Code (see step above) and yet “Visual Studio Code” is not available as an option, please make a note of this, and inform the Unity tutor during the class – he or she will be able to help you locate and set it as the External Script Editor.
Tutor Notes: via Start button + ‘S’, type in “Visual Studio Code”, right-click, open file location, the right-click on the shortcut link file (*.lnk) and choose open file location again, and finally from File Explorer, single click on the code.exe file and choose “Copy Path” from the tool bar – back in Unity, select “browse” for the External Script Editor, and Ctrl + V the full file name into the dialogue, and done.
Now close the window.
This completes the set-up for Unity Hub, Unity Editor, and finally Visual Studio Code.